How to Remove Shower Mould from Silicone, Grout & Tiles: A Brisbane Guide
If you need to remove shower mould, you are dealing with one of the most common cleaning challenges in Brisbane homes. The subtropical climate, constant humidity, and daily shower steam create conditions where mould establishes itself quickly — especially in grout lines, on silicone sealant, and around tiles. The hardest case of all is mould embedded in silicone, which is exactly where most cleaning guides give up and tell you to replace it.
As a professional cleaning team working across Brisbane, we remove shower mould every week. Through years of testing products and refining our approach, we have found what actually works to remove shower mould, what is a waste of time, and how to keep it from returning. This guide shares exactly what we use — from mild surface mould on tiles and grout to deeply embedded black mould in silicone sealant.
If you would rather have professionals handle it, our deep cleaning service includes thorough bathroom mould treatment as part of a full home reset.
Why Mould Grows in Brisbane Showers
Understanding why mould appears helps you prevent it and treat it more effectively. Mould is a type of fungi that thrives wherever there is warmth, moisture, and organic matter — and Brisbane bathrooms provide all three in abundance.
Brisbane's average humidity sits between 65% and 75% year-round, spiking higher during summer and after storms. Every hot shower adds more steam to an already humid environment. Without proper ventilation, that moisture settles on grout, silicone, tiles, and glass — creating the perfect conditions for mould spores to take hold.
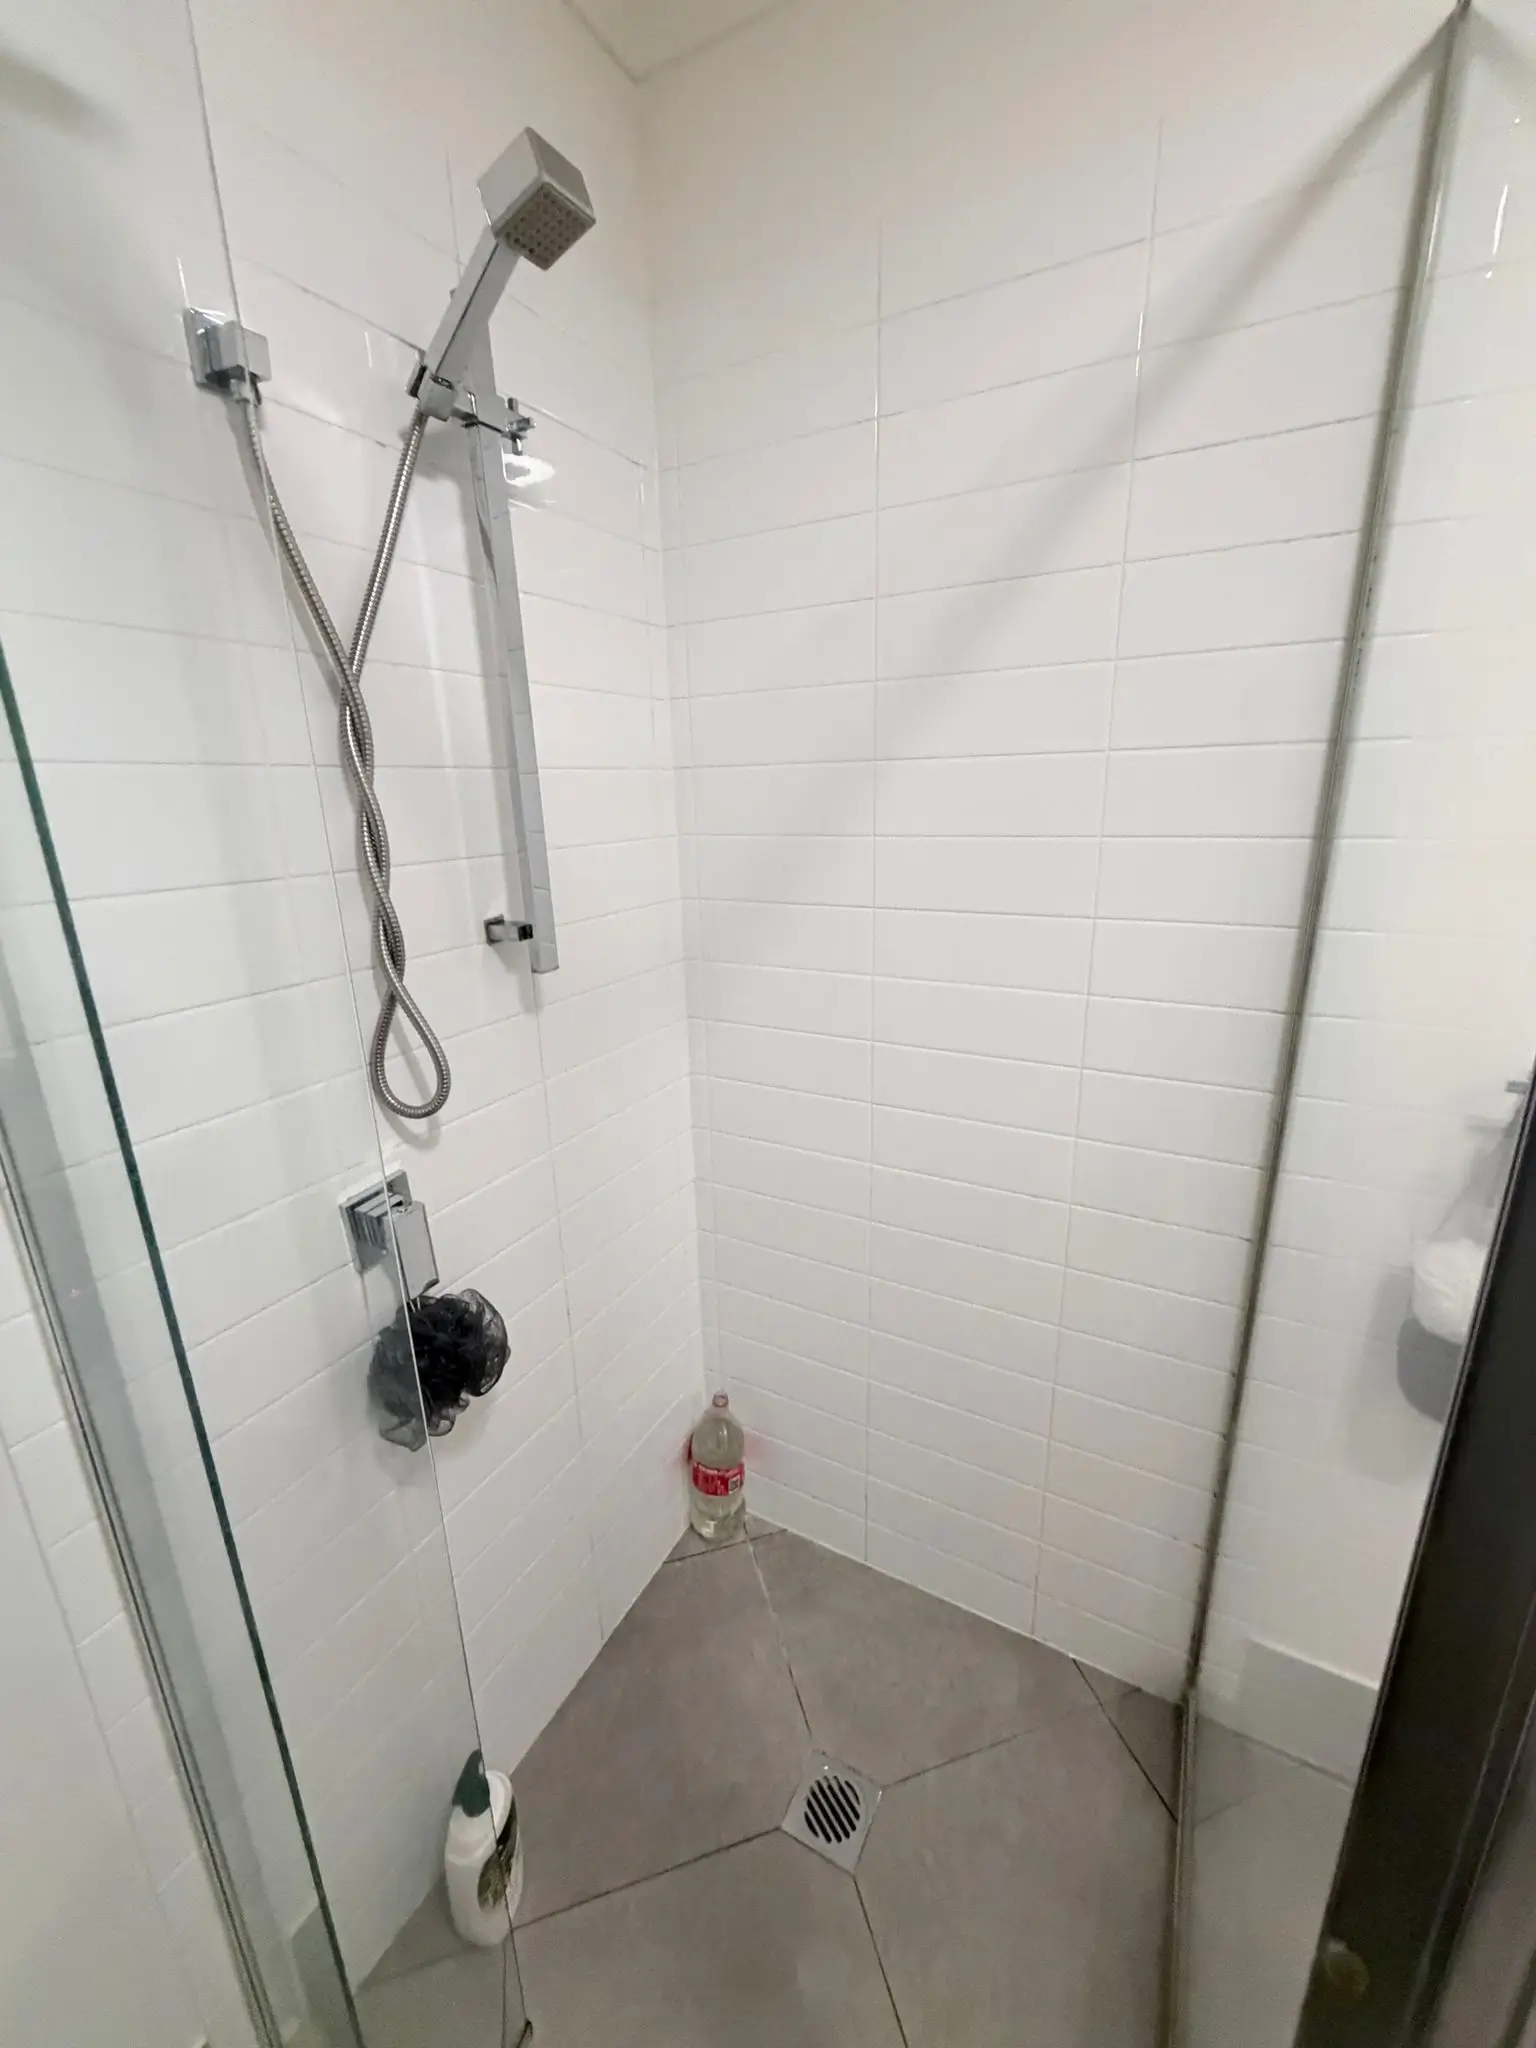
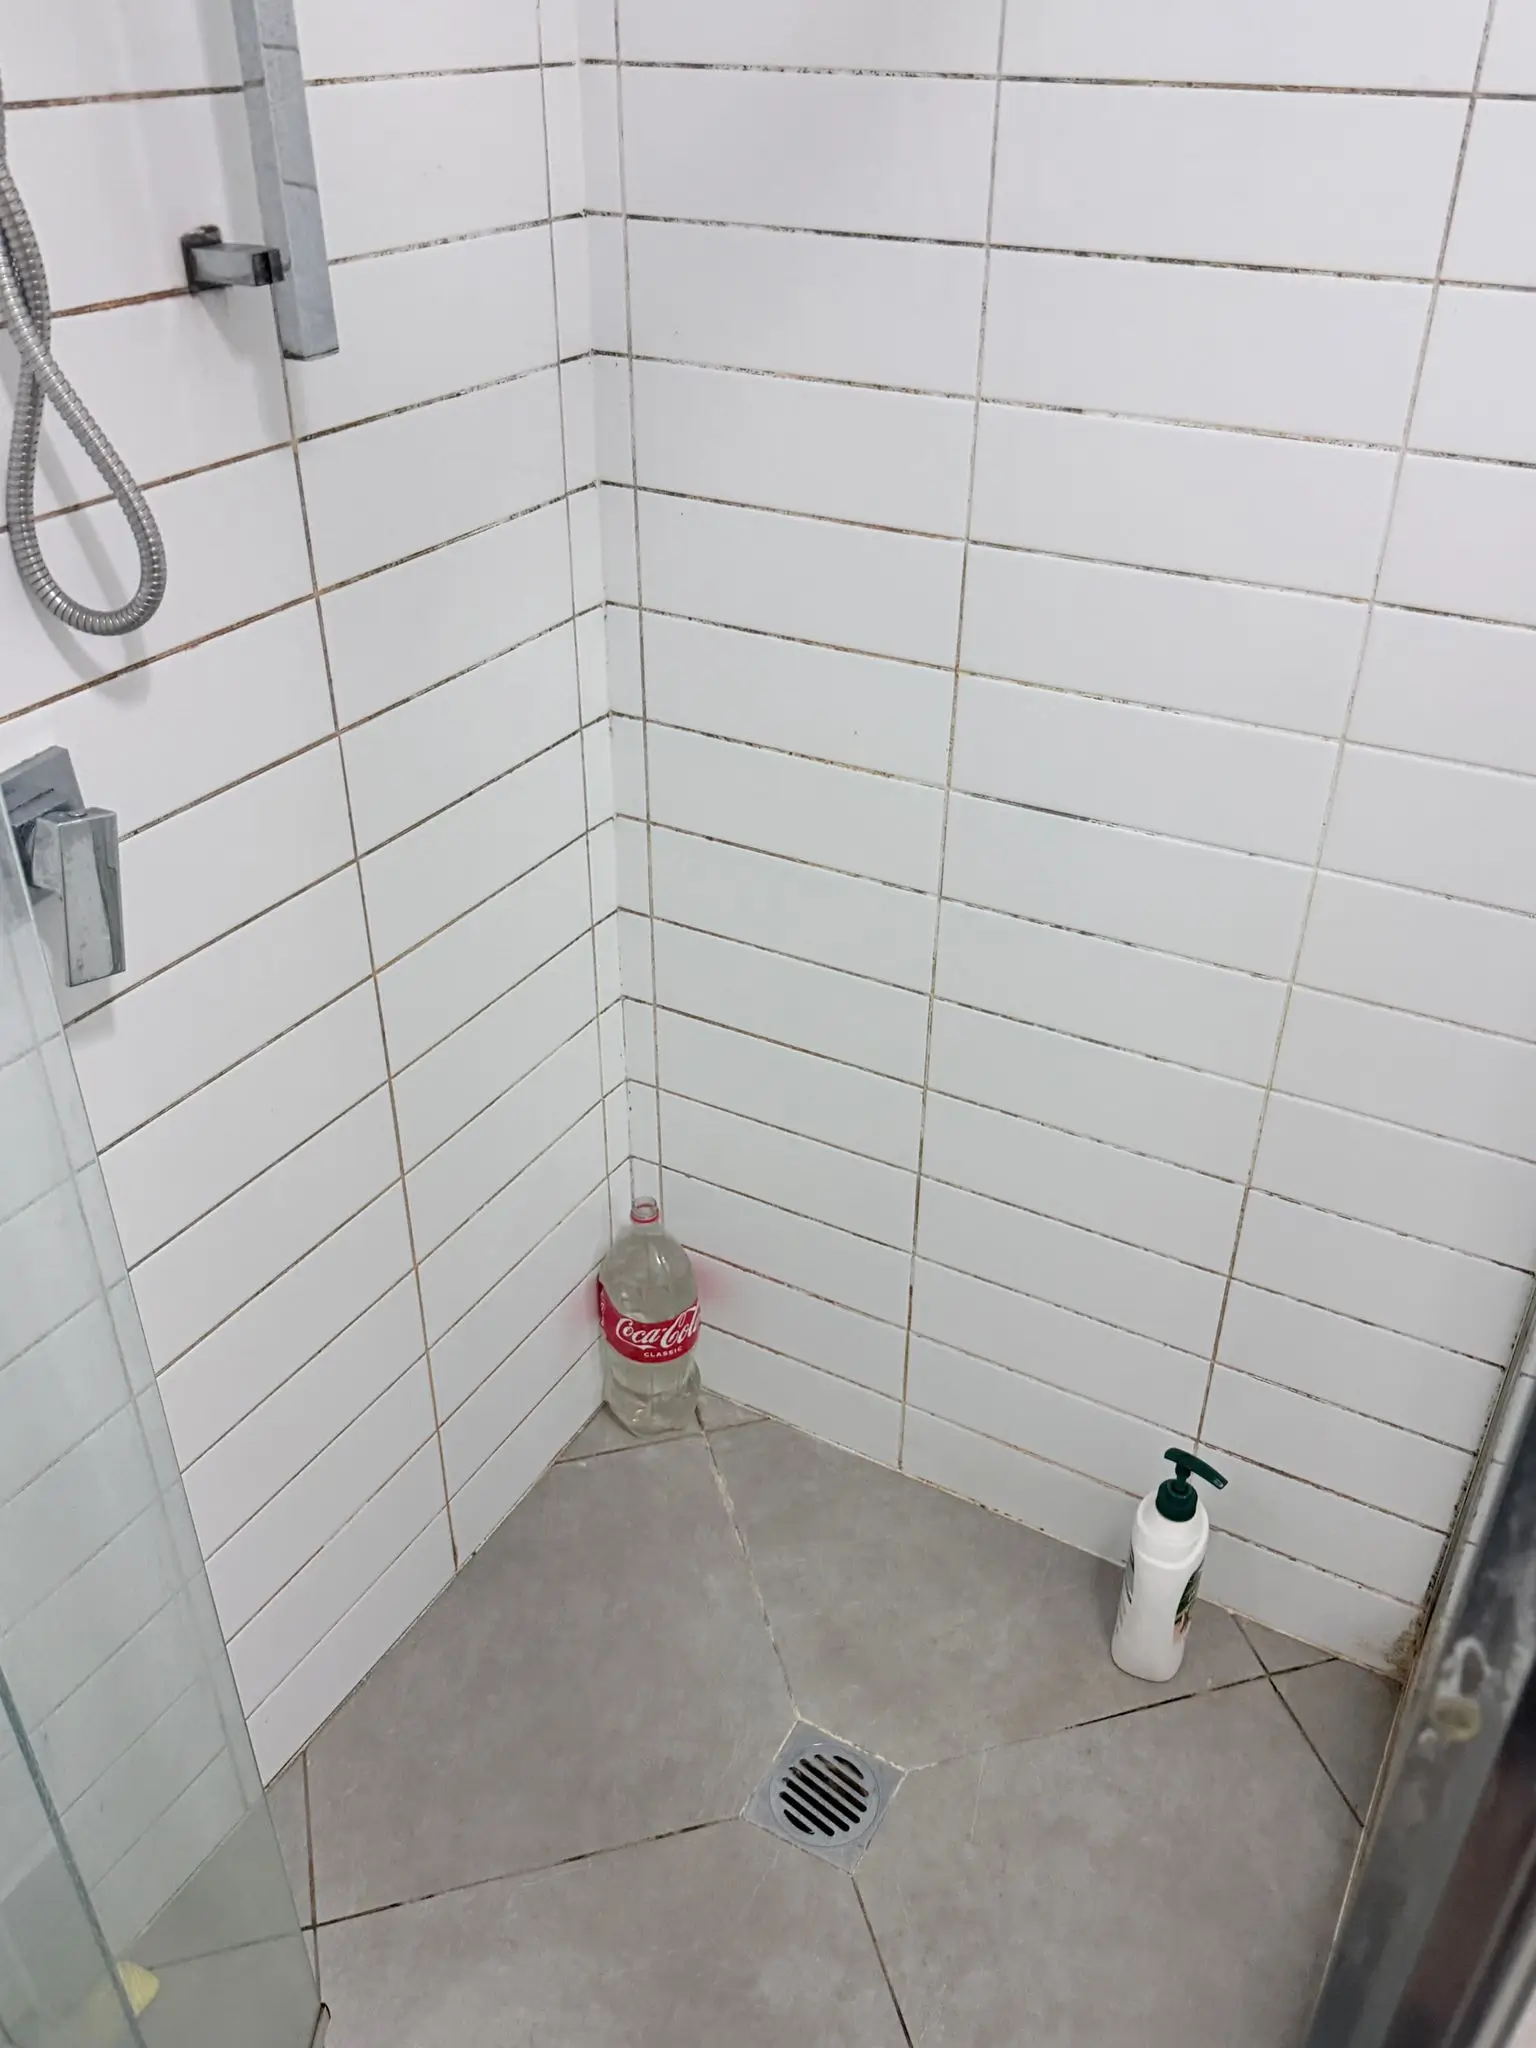
The most common areas where shower mould develops are grout lines between tiles (porous and absorbs moisture), silicone sealant around the base, corners and joins (traps moisture underneath), shower glass and frames (condensation collects in corners), and the ceiling above the shower (steam rises and stays).
The good news is that most shower mould can be removed effectively with the right product and the right technique. The key to remove shower mould for good is choosing the correct approach for each surface — grout, tiles and silicone each need a slightly different method.
Black, Pink and Orange Mould: What the Colour Tells You
Not all shower mould is the same. The colour gives you a useful clue about what you are dealing with and how urgently it needs treating. Here is what the three most common shower mould colours mean.
| Colour | What It Usually Is | Where You'll See It | How Urgent |
|---|---|---|---|
| Black mould | Established mould, often growing into grout or silicone | Silicone sealant, grout lines, corners | Treat promptly — hardest to remove once embedded |
| Pink mould | Usually a bacteria (Serratia marcescens), not a true mould | Tiles, grout, shower floor, around drains | Easy to remove if treated early |
| Orange mould | A mix of bacteria and mould thriving in warm, damp areas | Grout, silicone, shower floor | Treat early — spreads in humidity |
Black mould in the shower is the one most people worry about, and for good reason — by the time it turns black it has usually grown into the surface, especially in silicone. Pink mould is less alarming: it is typically a bacteria that feeds on soap residue and is easy to wipe away when caught early. Orange mould sits somewhere in between. The treatment methods below work on all three colours — what changes is how many applications you will need.
Safety Before You Start
Method 1: Shower Mould Remover for Grout and Tiles (Best Starting Point)
For mould on tile surfaces and grout lines, a commercial shower mould remover is the most practical starting point. After testing various products available in Australia, the one we rely on most in our professional work is Exit Mould. It is widely available at Bunnings, Woolworths, and Coles.
What You Will Need:
- Exit Mould spray (500ml or 1L)
- Rubber gloves
- Protective glasses and mask
- Soft scrubbing brush or old toothbrush
- Microfibre cloths
- Squeegee
Step-by-Step Instructions:
- Ventilate the area. Open windows and turn on the exhaust fan before you start.
- Spray the shower mould remover directly onto the affected grout and tile areas. Cover the mould thoroughly — do not be conservative with the product.
- Let it sit for 10 to 15 minutes. The active ingredient (concentrated sodium hypochlorite) needs time to break down the mould.
- Scrub with a brush. Use a soft scrubbing brush for tiles and an old toothbrush for grout lines. The mould should lift off with moderate pressure.
- Rinse thoroughly with water. Make sure all chemical residue is removed from the surfaces.
- Dry completely. Use a squeegee on tiles and glass, then wipe down with microfibre cloths. Leaving the area dry is essential to prevent regrowth.
Method 2: How to Remove Mould from Silicone Sealant (Without Replacing It)
This is the method most people struggle with — and where most cleaning guides fall short. The standard advice online is to simply replace mouldy silicone. But from our professional experience, you can remove mould from silicone effectively in most cases without replacing it, if you use the right product and give it enough time.
The reason a foaming shower mould remover works particularly well on silicone is its consistency. Unlike liquid sprays that run off immediately, the foam clings to the silicone surface and stays in contact with the mould long enough for the chemical to penetrate and work. This is critical — the active ingredient needs sustained contact time to reach mould that has grown into the silicone, not just on the surface.
Step-by-Step: Removing Black Mould from Silicone
What You Will Need:
- Exit Mould spray (the foam is what makes this work)
- Rubber gloves, protective glasses, and mask
- Paper towels or cotton strips (optional, for stubborn areas)
- Microfibre cloths
Instructions:
- Ventilate the area and put on your protective equipment.
- Apply the mould remover generously along the full length of the silicone sealant, covering all mouldy areas completely.
- Let it sit for 30 minutes to 1 hour. This is the most important step. The foam needs sustained contact to penetrate the silicone and reach the mould embedded within it. Do not rinse too early.
- Watch for the colour change. As the chemical absorbs into the silicone, you will see the black mould staining begin to lighten. If you can see it changing colour, the treatment is working — it is just a matter of time and repeated application.
- Rinse and assess. After 1 hour, rinse the area with water and check the result. If mould staining remains, apply the product again immediately while the silicone is still damp.
- Repeat as needed. For moderate mould, 2 to 3 applications in one session may be needed. Apply each time before the silicone dries out, keeping the chemical in constant contact with the mould.
What About Mould Under the Silicone?
Sometimes the mould is not on the silicone but appears to be growing underneath it — visible as a dark shadow through the sealant. This means moisture has worked its way behind the silicone, and surface treatment will not fully fix it. In this case the silicone needs to be cut out, the area dried completely, and fresh sealant applied. Treating only the surface will not stop mould that is sitting behind the seal.
When Replacement Is the Only Option
If black mould has been sitting in silicone for years without treatment, the damage can become permanent — the mould grows into the material and stains it beyond what any chemical can reverse. In these cases, the silicone will need to be cut out and replaced. You can find a helpful guide on how to replace silicone sealant at Bunnings. However, if the mould has only been present for a few weeks or months, the method above will work in most cases.
Method 3: White Vinegar and Baking Soda (Natural Alternative)
If you prefer to avoid strong chemicals, or if the mould is mild and recently formed, a vinegar and baking soda combination can be effective on tiles and grout. This is a good option for regular maintenance between deeper treatments.
What You Will Need:
- White vinegar (undiluted, in a spray bottle)
- Baking soda
- Old toothbrush or scrubbing brush
- Microfibre cloths
Step-by-Step Instructions:
- Spray undiluted white vinegar generously onto the mouldy grout and tile surfaces.
- Let it sit for 30 minutes. Vinegar is a mild acid that helps break down mould and kill spores.
- Sprinkle baking soda directly onto the vinegar-soaked areas. It will fizz — this reaction helps loosen the mould from porous grout.
- Scrub with a brush using firm, focused strokes along the grout lines.
- Rinse with warm water and dry thoroughly with a cloth.
How to Choose the Right Method
There is no single best way to remove shower mould — it depends on which surface is affected and how established the mould is. Use the table below to match the right method to your situation.
| Method | Best For | Time Required | Effectiveness |
|---|---|---|---|
| 1. Shower mould remover (tiles and grout) | Surface mould on tiles, grout lines, glass | 15 to 30 minutes | High |
| 2. Mould remover on silicone | Mould embedded in silicone sealant | 1 to 3 hours (repeated applications) | High (unless years of untreated damage) |
| 3. Vinegar and baking soda | Mild, recent mould on tiles and grout | 30 to 45 minutes | Moderate (not effective on silicone) |
Shower mould is one of the most common issues found during bond cleaning inspections in Brisbane. If you are preparing for an end-of-lease clean, treating shower mould early gives you a much better chance of passing the inspection without issues.
How to Prevent Shower Mould in Brisbane
Removing mould is only half the solution. In Brisbane's climate, it will return unless you take simple preventive steps — so once you remove shower mould, the goal is to stop it coming back. The good news is that prevention is much easier than removal.
1. Ventilate After Every Shower
Leave the exhaust fan running for at least 20 minutes after your shower finishes. If you have a window, open it. The goal is to remove the steam and lower humidity in the bathroom as quickly as possible. This single habit makes the biggest difference.
2. Squeegee Tiles and Glass After Each Use
Keep a squeegee in the shower and quickly wipe down the tiles, glass, and silicone after every use. This removes the standing water that mould needs to grow. It takes less than a minute and significantly reduces mould buildup over time.
3. Weekly Maintenance Spray
Prepare a simple solution in a spray bottle: 20% bleach and 80% water. Once a week, spray this mixture across the shower tiles, grout, and silicone after your last shower of the day. Let it sit for 5 minutes, then rinse. This low concentration is enough to kill new mould spores before they establish themselves, without the intensity of a full mould removal treatment. You can add a few drops of essential oil to reduce the bleach smell.
4. Keep an Eye on Silicone Condition
Check your silicone sealant regularly for early signs of mould — small pink or grey spots are the first stage. Treating mould when it first appears is far easier than dealing with established black mould months later. A quick application of mould remover at the first sign will stop it before it spreads.
If you maintain a regular cleaning routine, shower mould becomes a manageable issue rather than a recurring problem.
Frequently Asked Questions
How do you remove mould from silicone without replacing it?
How do you clean silicone that has turned black?
What is the pink mould in my shower?
Is shower mould dangerous to your health?
Why does mould keep coming back in my shower?
Does vinegar kill mould in the shower?
How often should I clean my shower to prevent mould?
Final Thoughts
Shower mould in Brisbane is not a sign of a dirty home — it is a natural consequence of the local climate. What matters is how you respond to it. With the right product, the right technique, and a few simple weekly habits, you can remove shower mould and keep it from coming back without replacing silicone or resorting to expensive professional mould remediation.
The method we have outlined for silicone — using a foaming mould remover with sustained contact and repeated application — is something we have developed through our own professional cleaning work in Brisbane homes. It works in most cases where the mould has not caused permanent structural damage to the sealant.
Need Professional Help with Shower Mould?
If you would rather leave it to the professionals, our Brisbane team can handle mould removal as part of a thorough deep cleaning service. We bring the right products, the right technique, and the experience to get it done properly.
Book Your Cleaning Service